Starting this blog with a Raspberry Pi and a dream

I've been wanting to create my own little corner of the Internet to host random demos (like a Cloudflare Access Demo) and jot down thoughts and ideas that likely only my wife will read (maybe my mom if I'm lucky 😅). I also saw this as an opportunity to use Cloudflare products I don't always get to work with in my day-to-day.
Step 1 - Figure out a good blog software
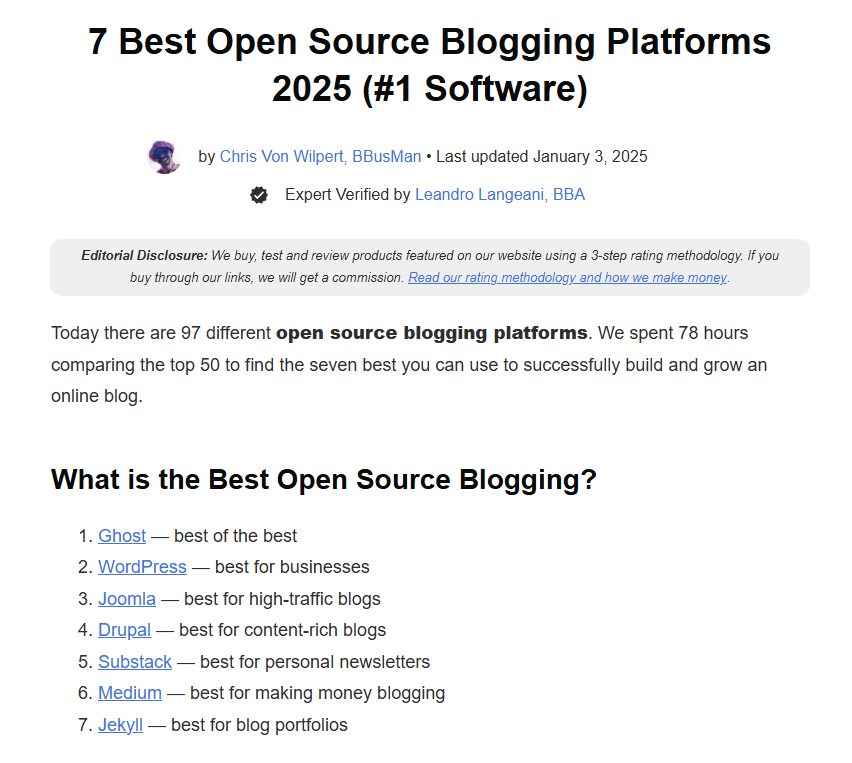
I almost went for a fully vibe coded Cloudflare Pages app, but the overhead of adding new pages and posts felt like a barrier that would keep me from writing and adding content in the future. I wanted something self-hosted and free, so I started looking for decent options. After a quick search for "best self-hosted blog platforms," Ghost rose to the top (thanks to Content Mavericks for the recommendation! 😄).
Once I'd made my choice, I turned to GPT to figure out the best way to install and run Ghost on my Raspberry Pi. Using a package manager like apt ended up working pretty well for me. I would definitely recommend following one of Ghost's guides or using GPT too, but it was fun to document my process. 😊
Step 2 - Prep the Raspberry Pi
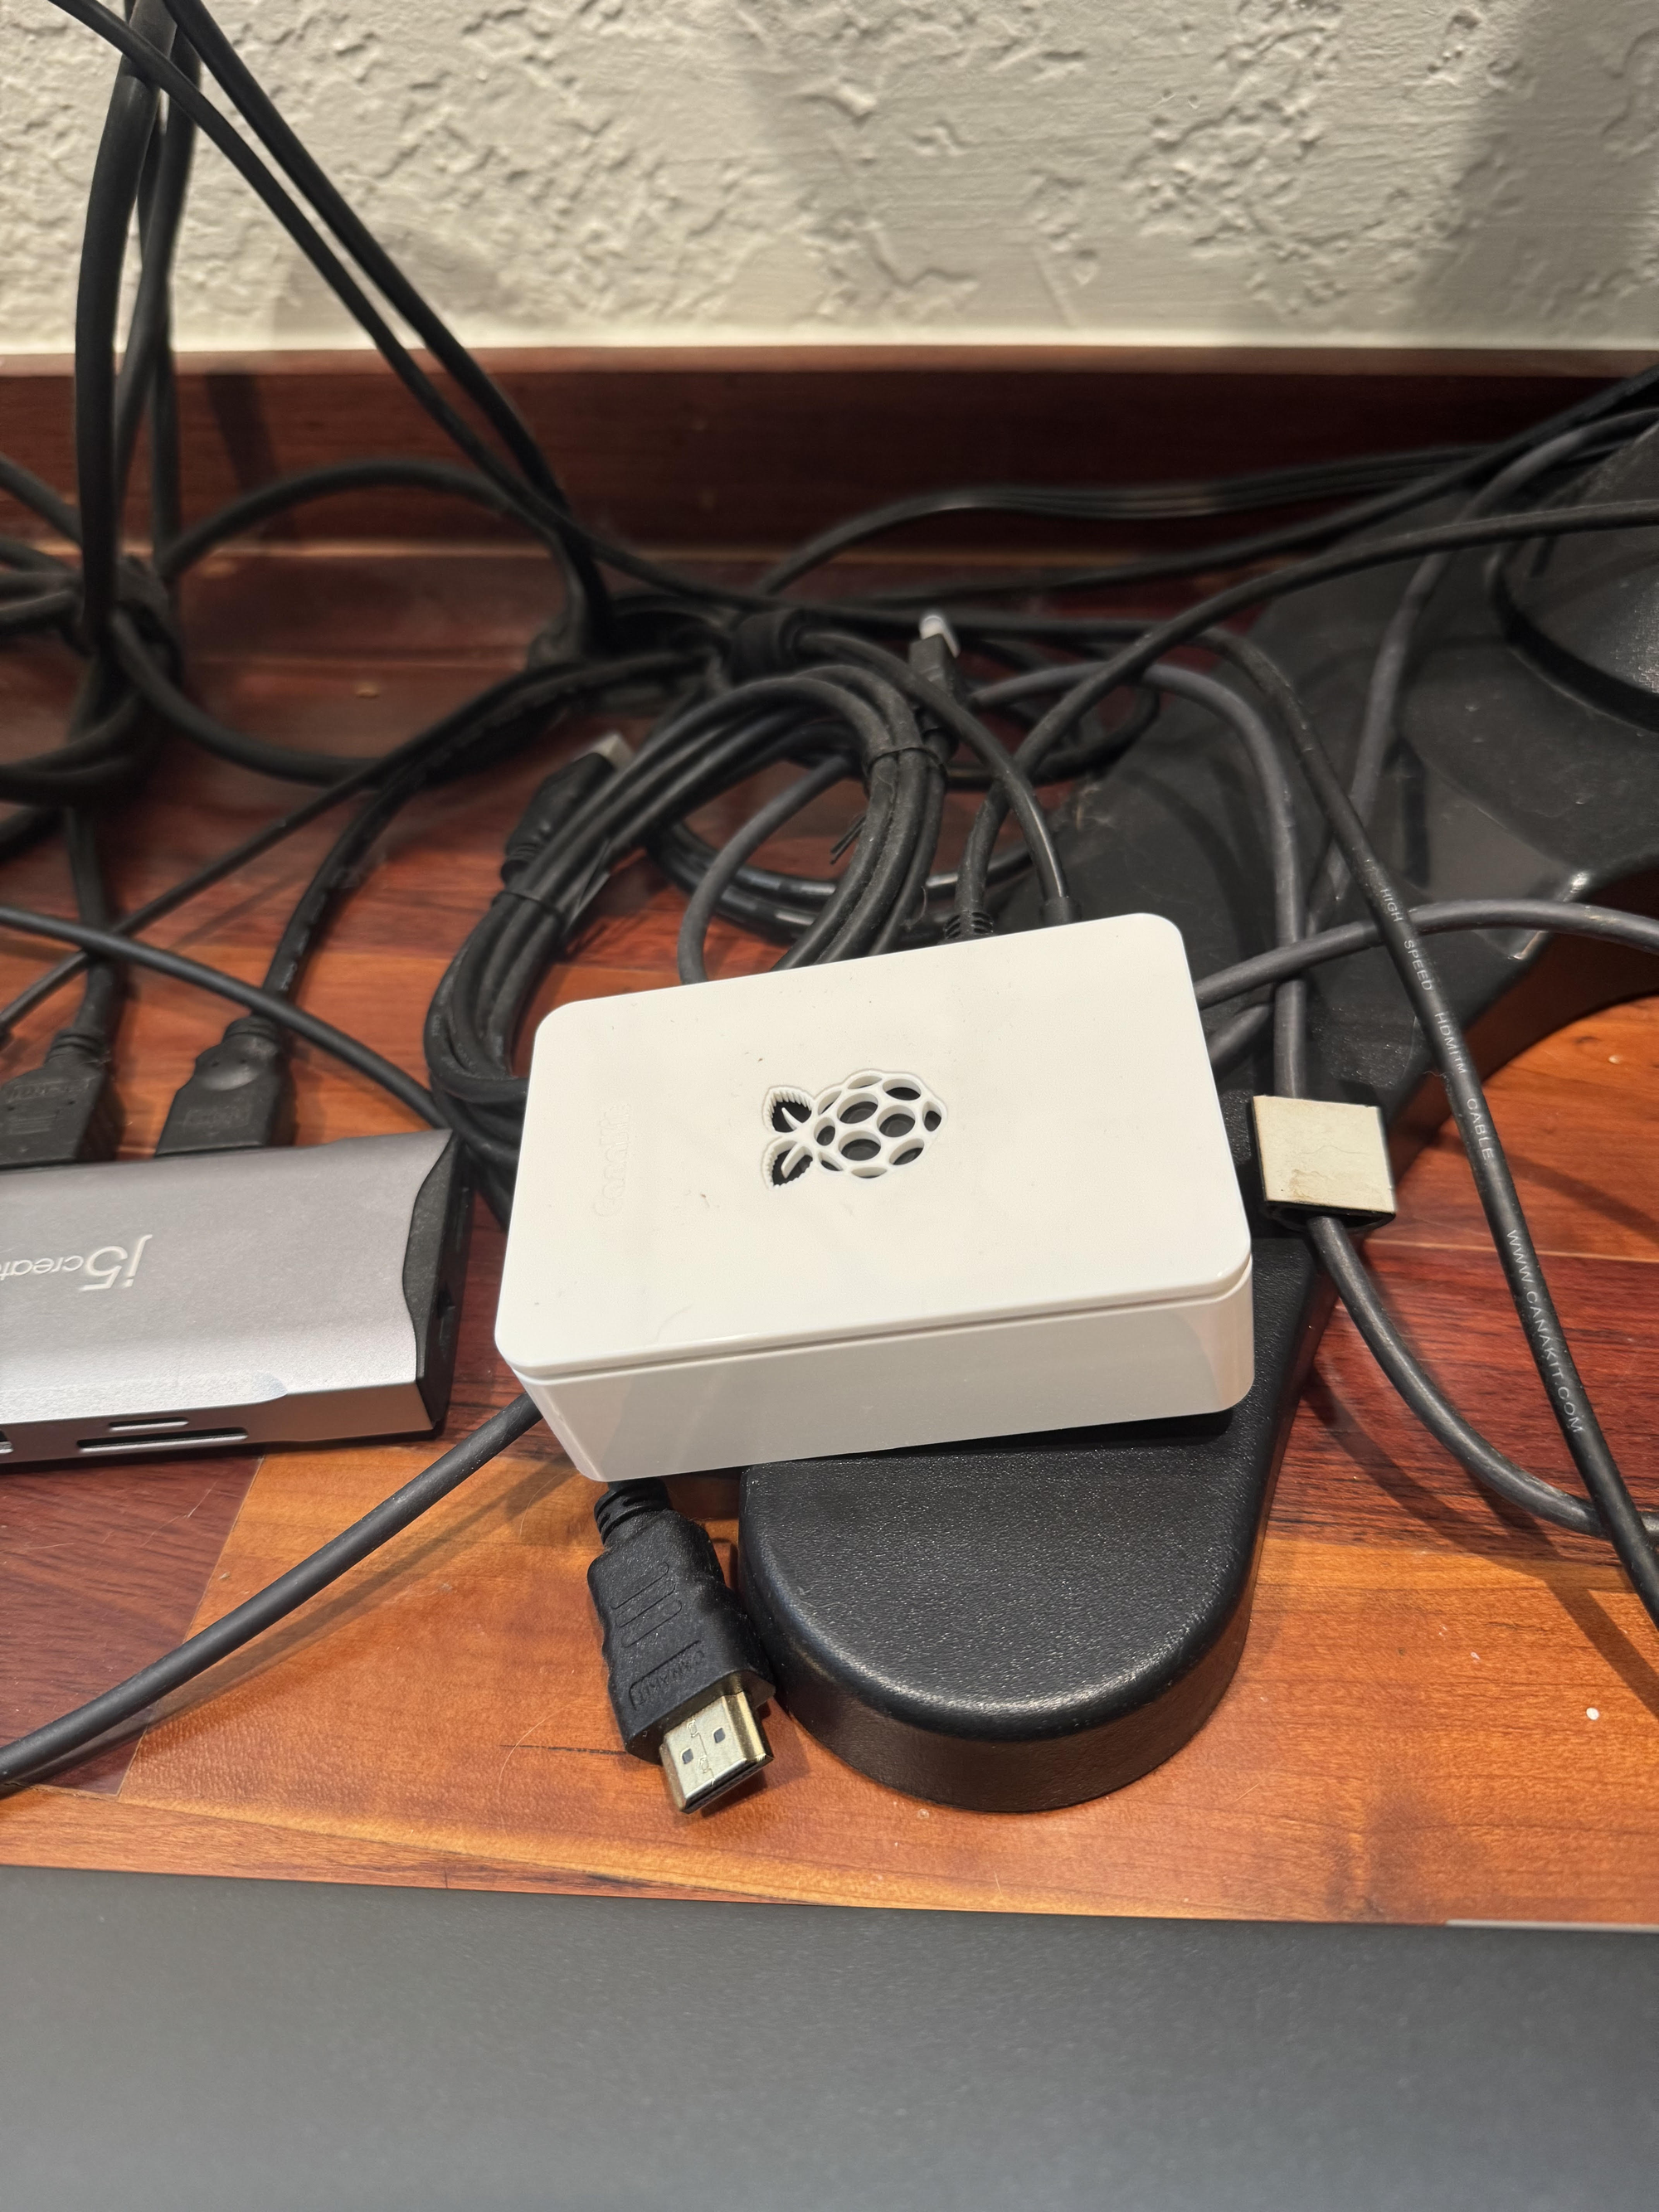
I bought my Raspberry Pi in mid-2024. It's mostly collected dust since then, but it has been handy for standing up a few different self-hosted applications that I use with Cloudflare.
I run Access' Browser Rendered SSH Terminal, which I end up using almost as much as WSL when I need to do something on a Linux box. I also run an instance of Authentik, which comes in handy for demos to customers and friends. Both of these used to run on a random GCP instance that would sometimes get clobbered by my co-workers who also used the instance.
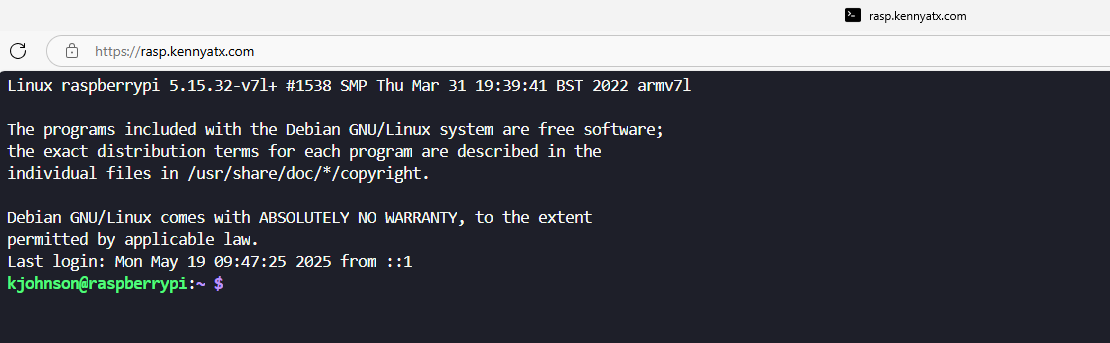
Both of these apps are relatively static, which means I hadn't updated the packages in quite some time. I pulled up the terminal in my browser and ran:
sudo apt update && sudo apt upgrade -y
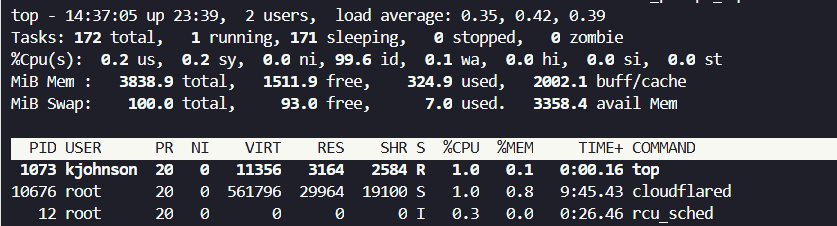
Given that I hadn't updated in a while, this took a long time, and I could hear the Raspberry Pi's cooling fan kick on downstairs almost immediately. 😅 One slightly annoying thing about the Browser Based Terminal is that it will cut sessions if there's no direct activity, which meant I lost progress on the apt updates. Once I logged back on, I ended up having to just run top repeatedly until I saw the package manager was finished.
Once apt update finally finished upgrading all my packages, I also needed to make sure I had MySQL and Node.js installed.
One curveball was that there isn't a MySQL package specifically for Raspberry Pi. I ended up having to install mariadb-server instead.
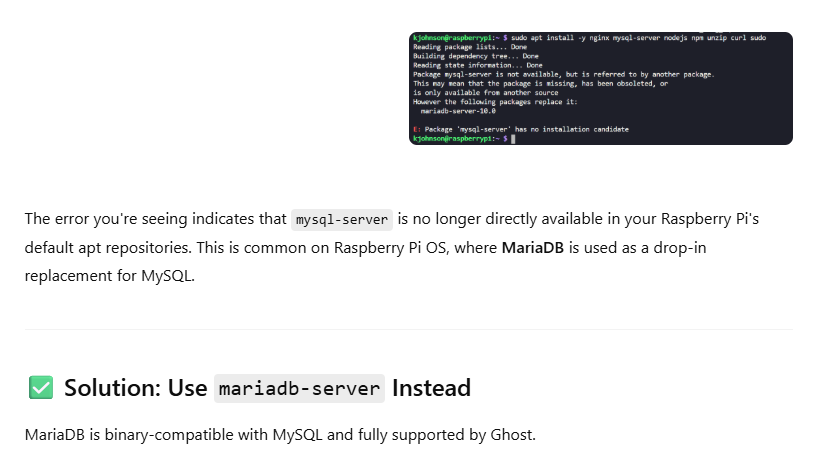
I then ran:
sudo apt install -y mariadb-server
and
sudo mysql_secure_installation
I thought I might have to change some of the underlying default SQL config in Ghost but MariaDB compiles to mySQL which worked out nicely. 😊 I did also miss adding a database user and setting a password and had to do this after the fact. Make sure you create a user with a specified password in mariadb. Ghost will prompt you for this during Ghost Install.
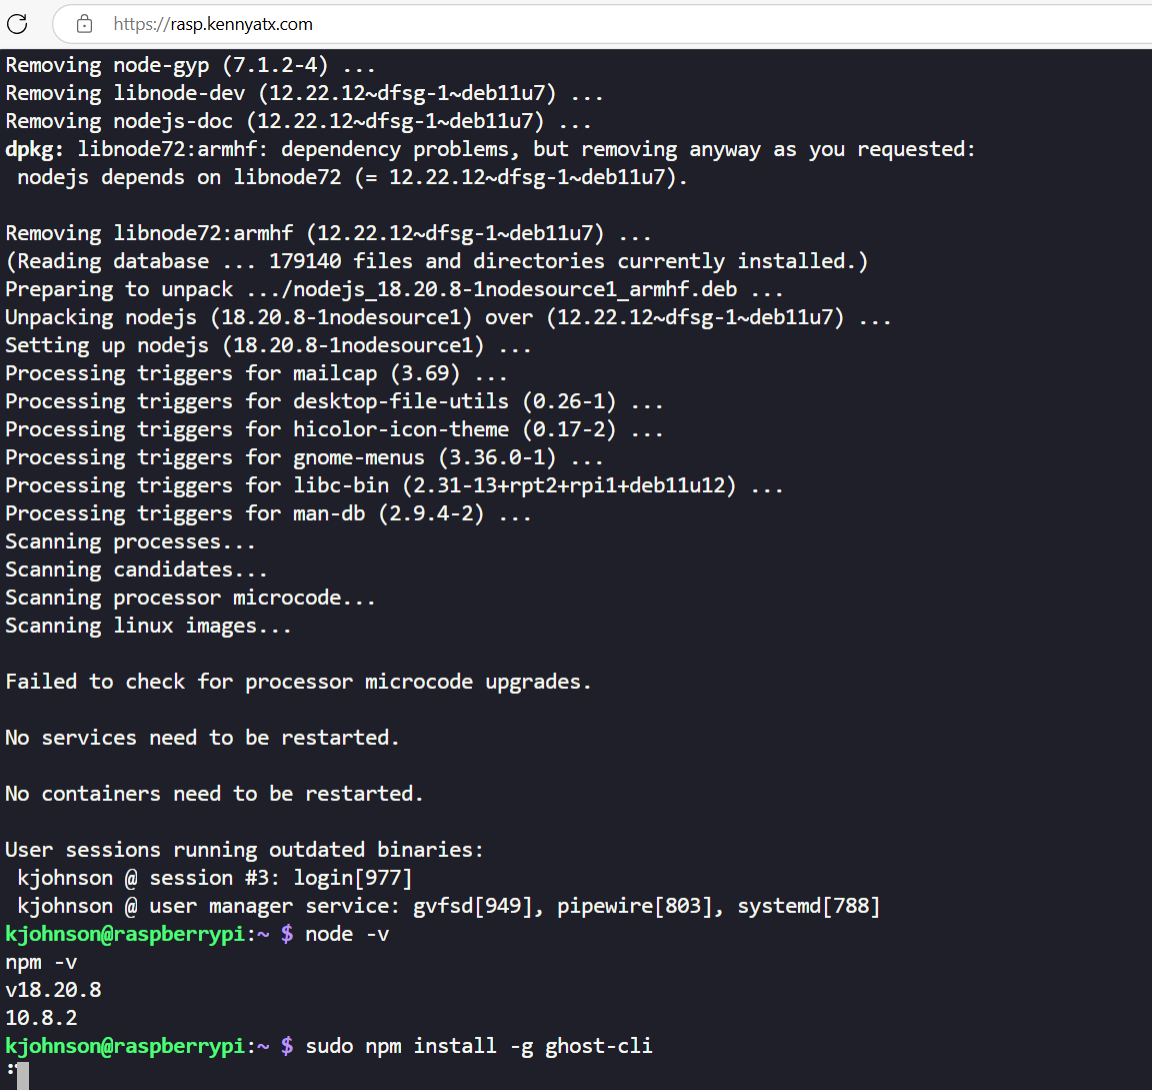
Node.js was easier. I just ran:
curl -fsSL https://deb.nodesource.com/setup_18.x | sudo -E bash -
Then:
sudo apt install -y nodejs
Both Node.js and npm installed and updated themselves successfully.
Step 3 - Ghost specific install
The above steps took longer than I care to admit, but most of the time was just spent installing packages and not due to my own ineptitude with sysOps. But finally, it was time for some 👻.
Installing Ghost involved the following commands:
sudo npm install -g ghost-cli
```bash
sudo mkdir -p /var/www/ghost # This creates the directory. You can call it whatever you want.
```bash
sudo chown <your_username>:<your_username> /var/www/ghost # This assigns your user as an owner. Replace <your_username> with your actual username.
```bash
cd /var/www/ghost # This moves you into the specific directory to run Ghost-specific commands.
Once the CLI was installed, I could then run Ghost-specific commands like install, start, status, etc. I ran:
ghost install
This command prompts for several details:
- Blog URL (e.g.,
https://kennyatx.com) - MySQL details (I actually used MariaDB here, and it worked seamlessly)
- Some basic local IP and port configuration options (I used the defaults).
These details get stuffed into a file named config.production.json in your Ghost directory.
Now I had a Ghost instance running locally at http://127.0.0.1:2368, but it wasn't accessible from the Internet yet. It was almost 👻 time!
Step 4 - Hooking my blog up to the Internet
Now that I had the Ghost Blog running locally on my Raspberry Pi, I needed to connect it to the Internet. I already had Cloudflare Tunnel set up and configured on my Raspberry Pi to run the browser-based SSH terminal.
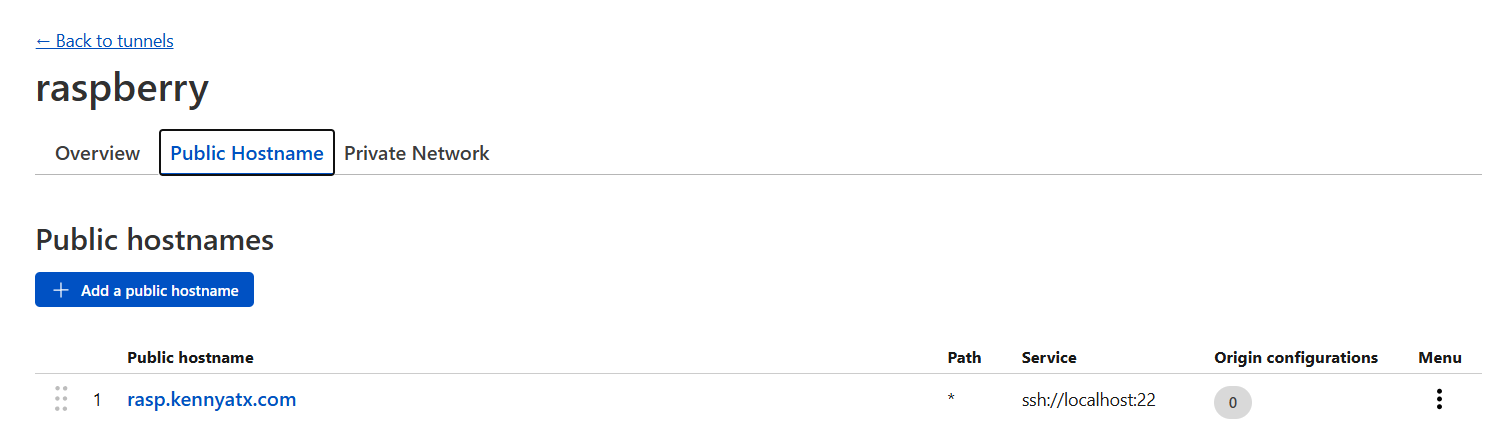
The great part about Tunnel is that it allows me to expose services on my Raspberry Pi without opening any inbound firewall ports or needing a public IP address to protect. It also takes care of all the SSL configuration, which is usually a pain when setting up an SSL certificate for a web server.
In the same Tunnel, I added a second public hostname record for my Ghost Server:
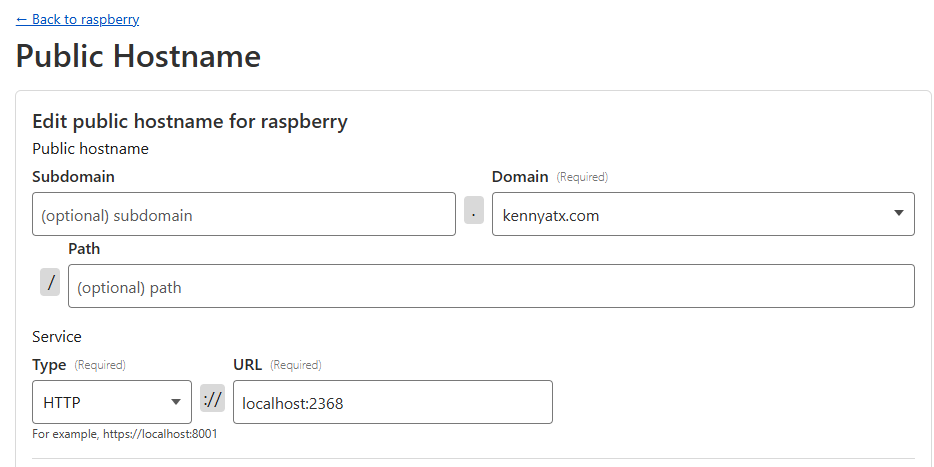
You can use either "localhost" or the private IP (in this case, http://127.0.0.1). This automatically generates a CNAME record in my Cloudflare DNS and announces this domain to the Internet. After setting this up, It's alive!!!!
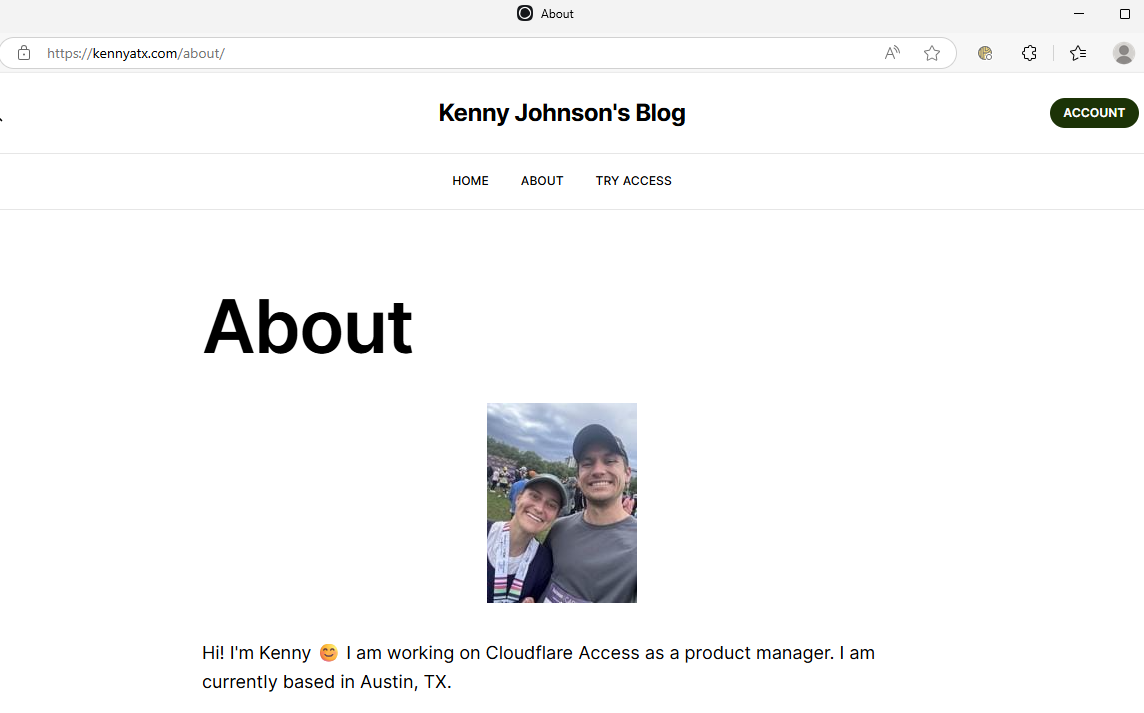
Step 5 - Secure my admin panel
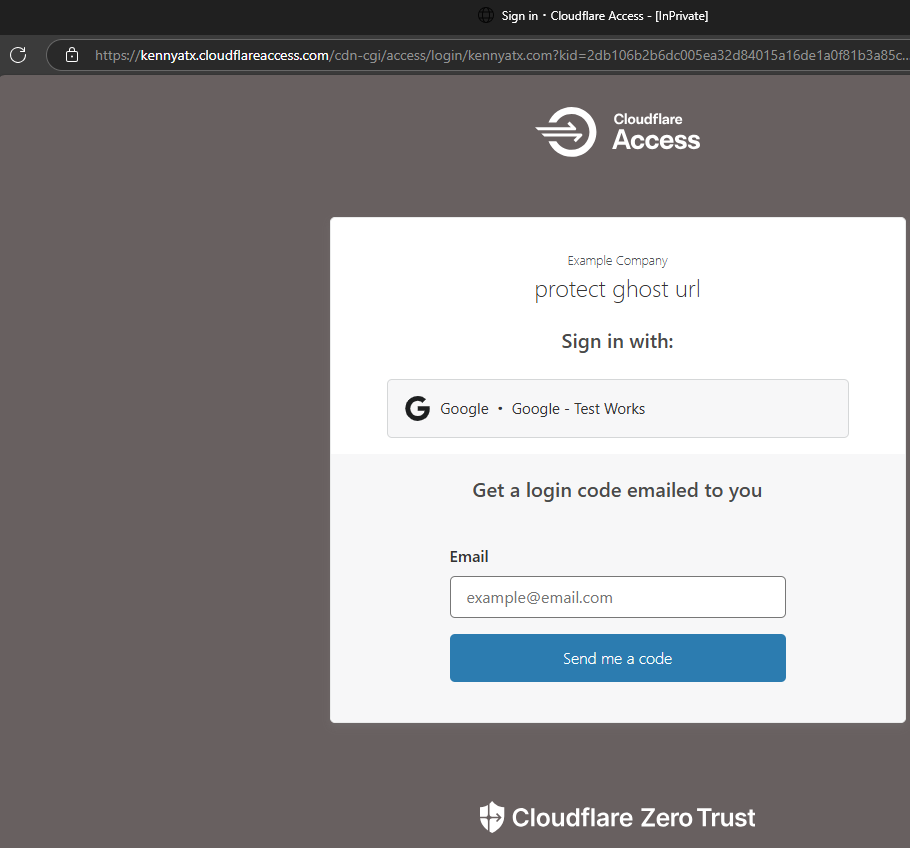
Now that my site was live on the Internet, I wanted to make sure that folks out there could only see my public pages and not get into my admin panel. Even though Ghost has its own username/password flow for https://kennyatx.com/ghost, I wanted to enforce strong MFA and Device Posture controls on that part of the website. Plus, I'm the PM for Access, so why not? 😄
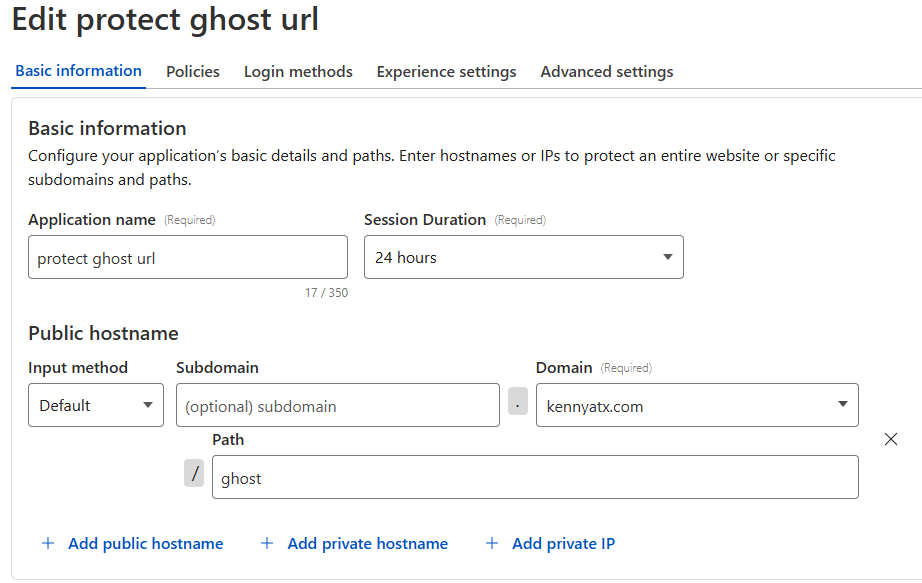
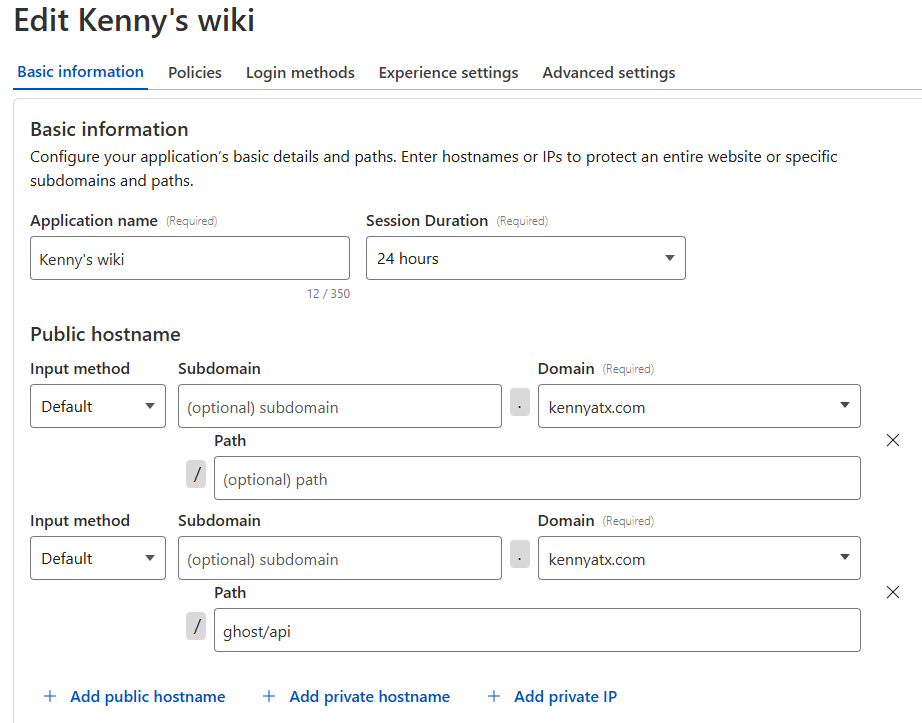
Access allows you to create an application and enforce specific policies on a domain, sub-domain, or route. This means that I could bypass checks for hostnames like http://kennyatx.com and specific paths like https://kennyatx.com/ghost/api which need to remain public. I added a policy for the /ghost admin panel that enforces authentication with only my email, along with some additional posture checks:
Then, I created a bypass rule to ensure that both the root domain and /api calls do not get blocked by Access (I initially missed the /api path and got a ton of 302/403 failures):
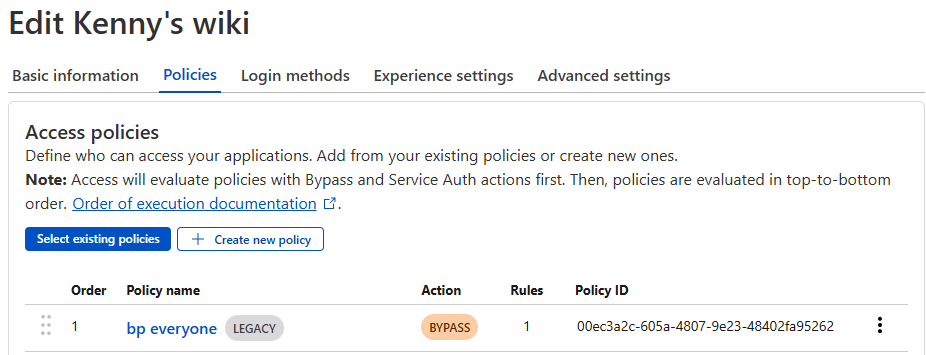
Now I've protected my /ghost admin panel with strong SSO and MFA!
Step 6 - Now time to blog, poorly 😄
And that's that! I was able to stand up my own blog for the cost of: electricity, one Raspberry Pi, a free Cloudflare account, and a cheap domain name.
Stay tuned for more musing, tech setups and fun ideas!